
Let’s get this straight: I bought my BMW R1200GS last year, and it seemed to be in good condition. It had an oil change done by me as well as new spark plugs, which are the only parts I’ve maintained so far.
For me, when I buy a motorcycle, changing the oil is already a way to check how well it has been cared for. And on that front, I wasn’t too disappointed: the engine seems healthy.
I did have one surprise though: a turn signal replaced with Chinese parts that were malfunctioning, and as we’ll see later… brake issues.
Originally, I planned to address the brakes here in full detail, but events got in the way.
Indeed, I find it more challenging to perform certain tasks like cylinder synchronization or valve clearance adjustment. So rather than take any risks, I decided to have BMW handle those for me.
Yes, they are expensive. But hey, I was well received and well served. They reviewed the bike as soon as I arrived:
Rear brake failed: uh, excuse me? Oh right, a stuck caliper that fried my pads and slightly damaged the rotor (but the rotor is still okay), so replacement at BMW was necessary… |
Up front, the pads were fine, but the rotors seemed worn. Confirmation: out of tolerance. This time, I’ll handle it myself as planned. |
Telelever ball joint boot failed, but without play: keep an eye on it and address later. |
It’s my first time working with a Telelever ball joint on a motorcycle. The adjustable suspension is definitely a plus, though not essential for my usual riding style. We’ll see how it performs in the field.
Now, you’re about to dive into the first major operation:
1. The Front Brakes
1.1. Initial Assessment
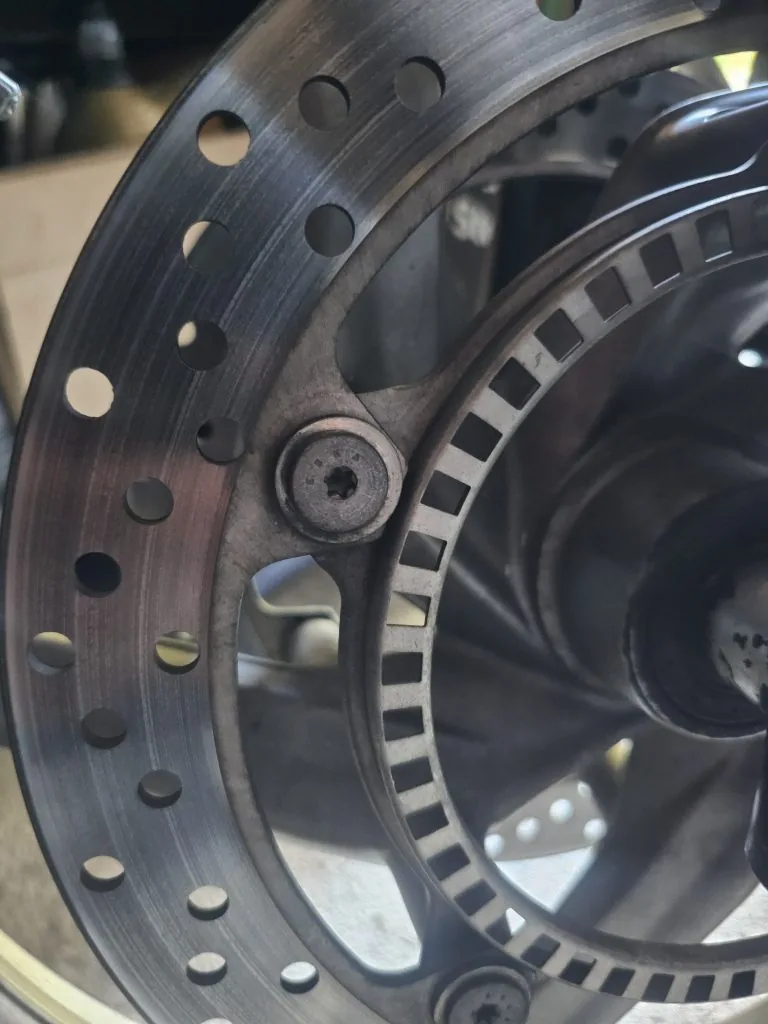
Not great, but there are worse conditions. So I call in a friend to help out.
1.2. Disassembly
We meet at his place, and the first discovery is how to remove the wheel:
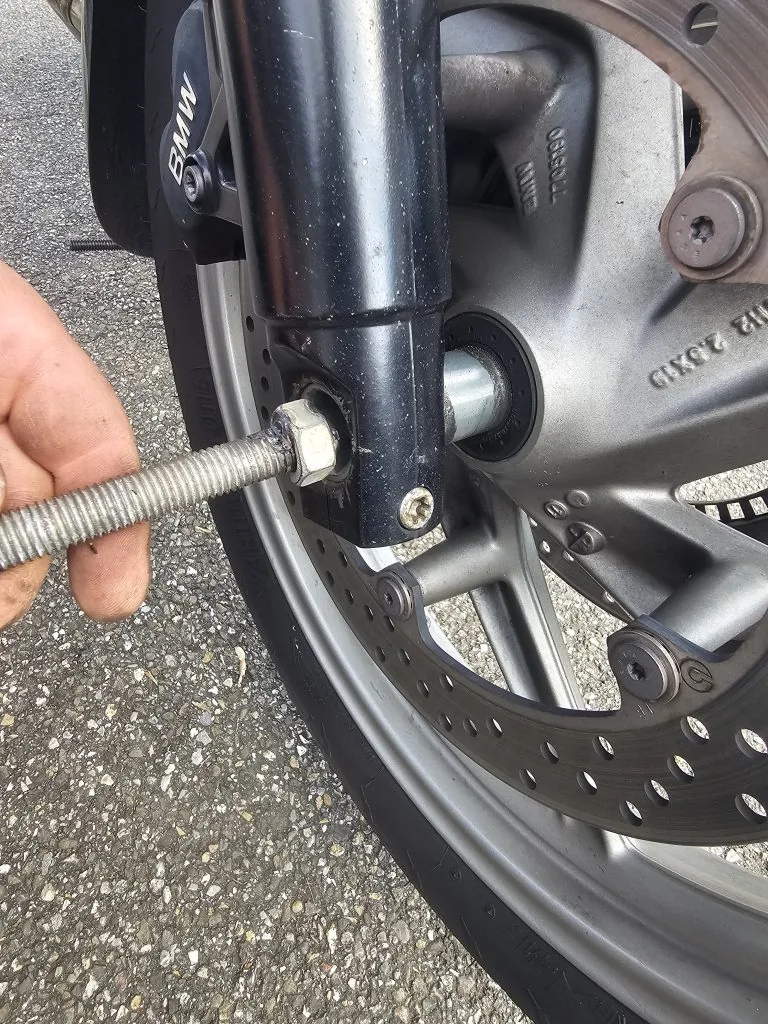
It’s a hollow axle with an 22 mm internal hex, which needs to be turned after removing the Torx screw located on the left side of the fork.
We try it with the BMW tool (barely pointed), and surprise: nothing moves, the points break.
Not surprising given their condition; we’ll need a Plan B.
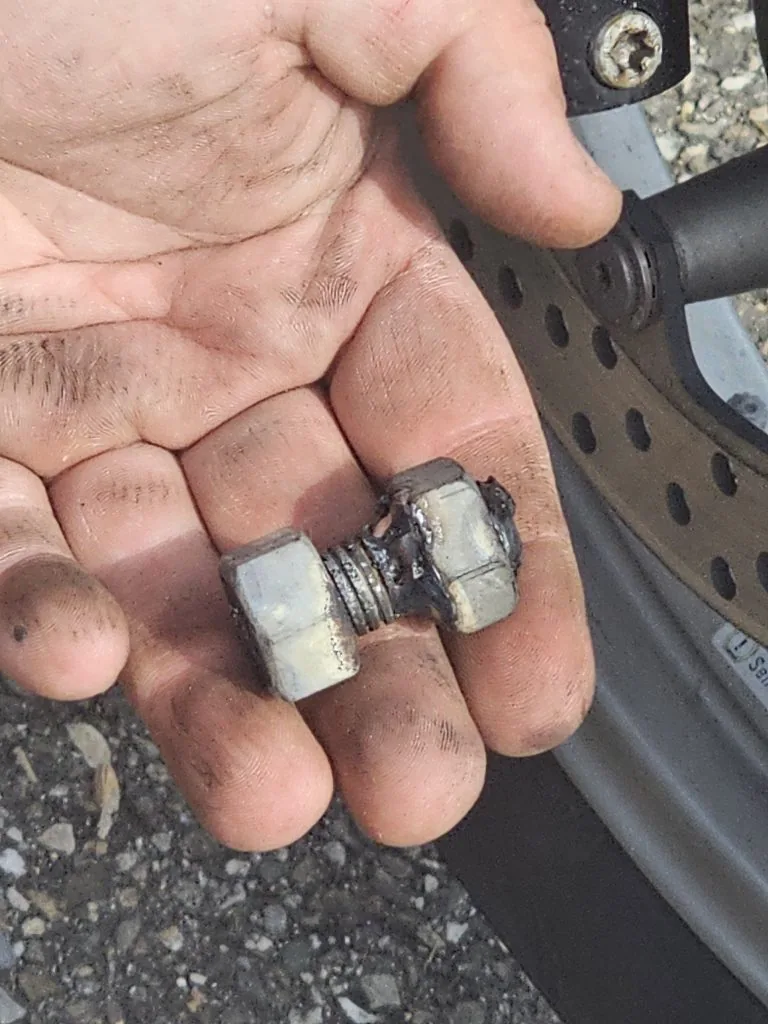
Shorter, less overhang, and three additional points. In the end, we weld two bolts properly to create a reliable tool.
Before going all brute force, we secure the bike—a brilliant idea that came a bit late but proved effective.
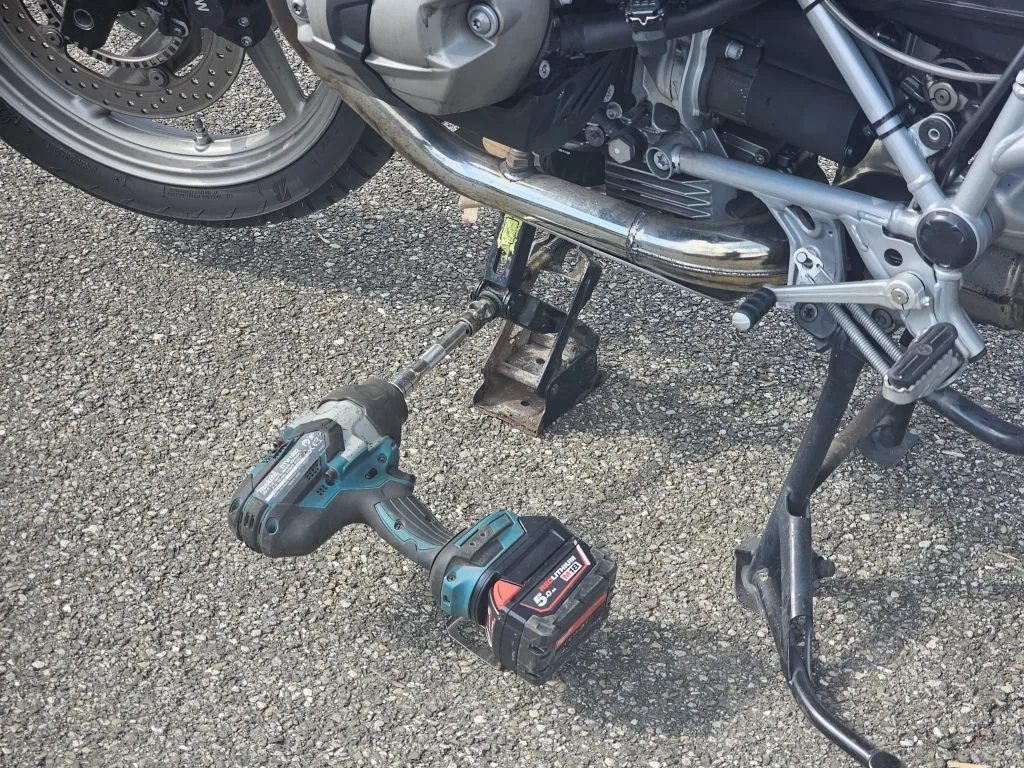
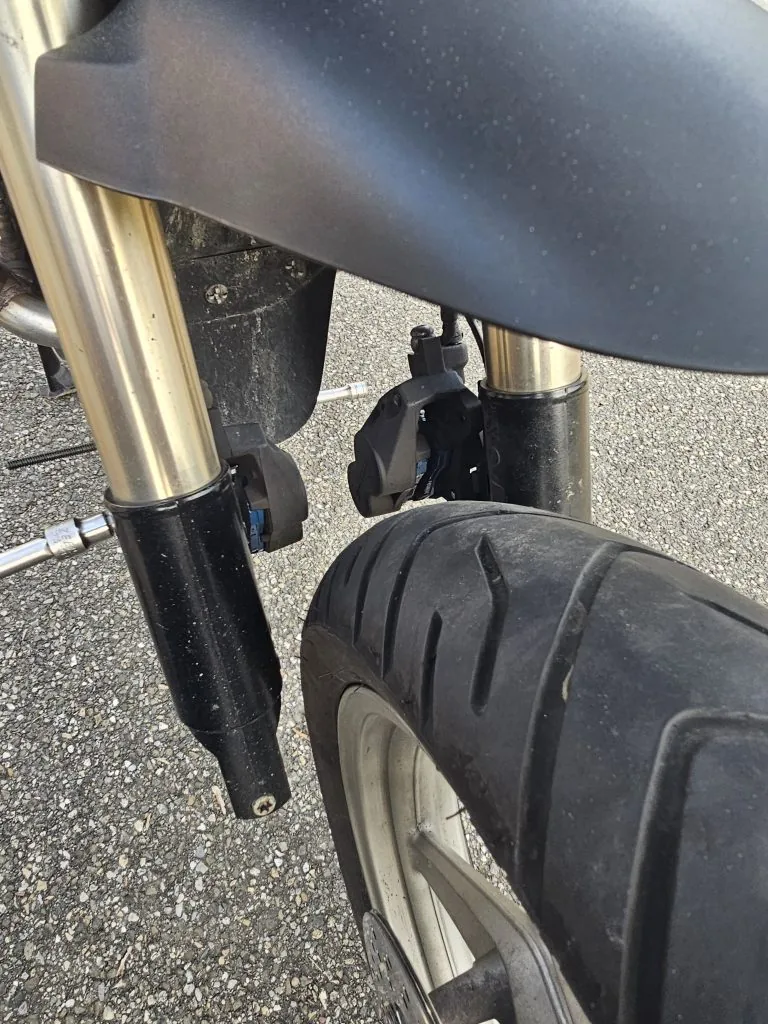
With the motorcycle secured, we remove the wheel, then the calipers.
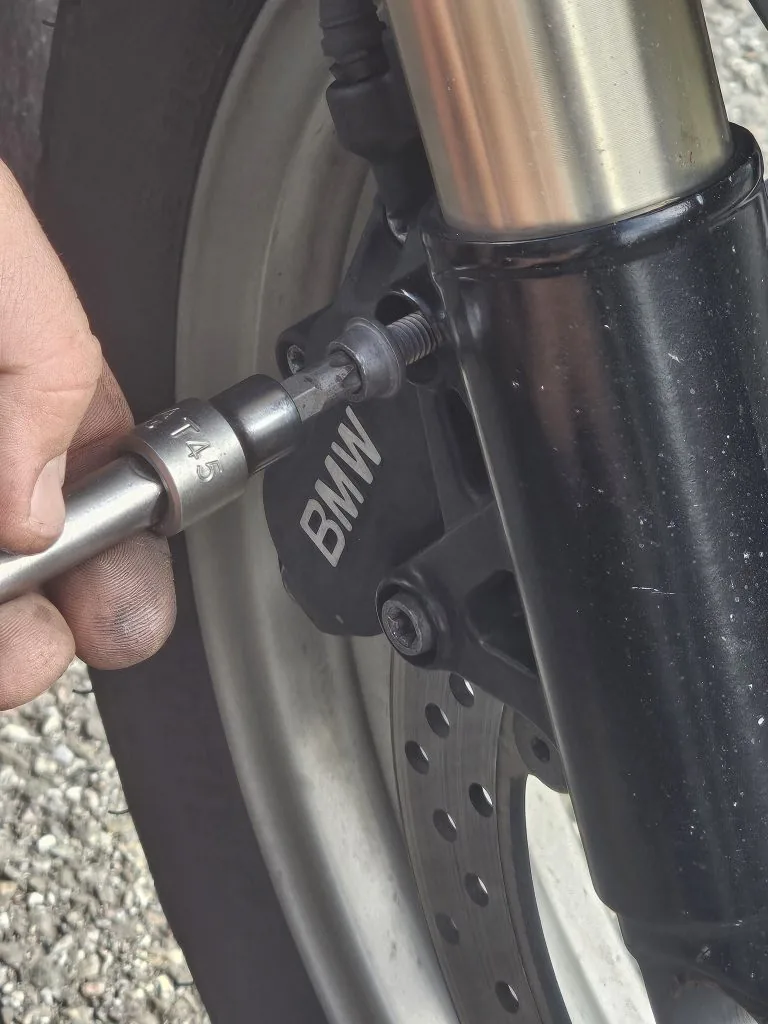
Be careful not to lose the spacer that ensures proper alignment of one side of the axle.
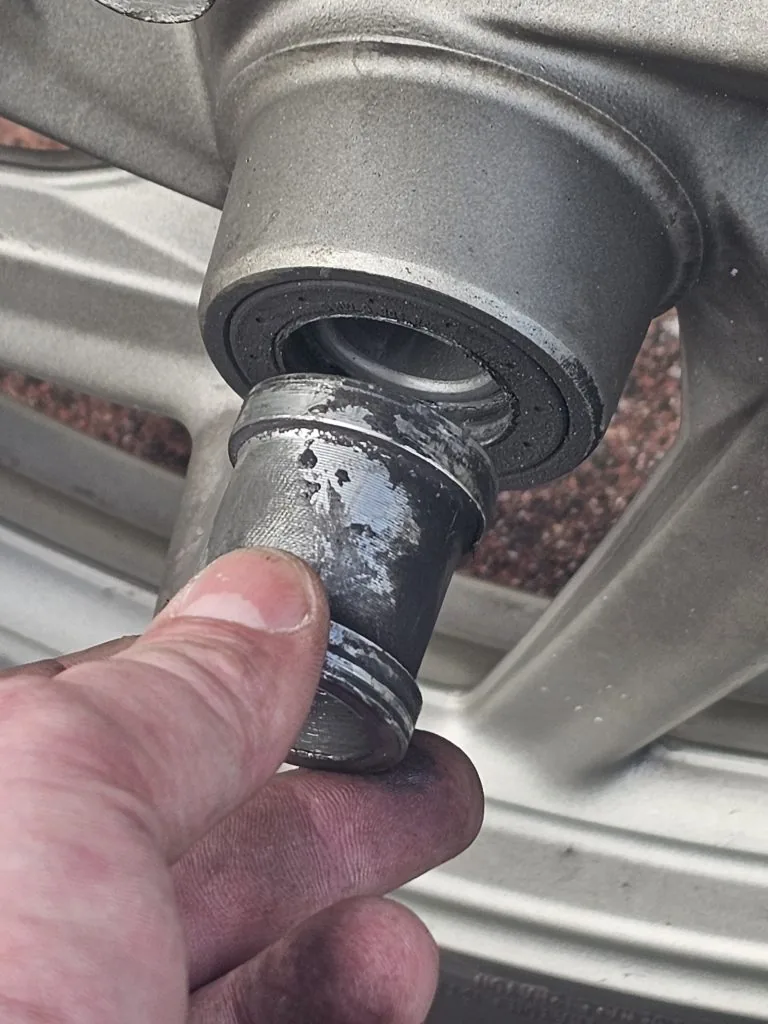
1.3. The Moment of Panic
And there... It's a drama: I forgot to order the Brembo floating-disc bushing kit. Those famous spacers that allow the disc to expand with heat.
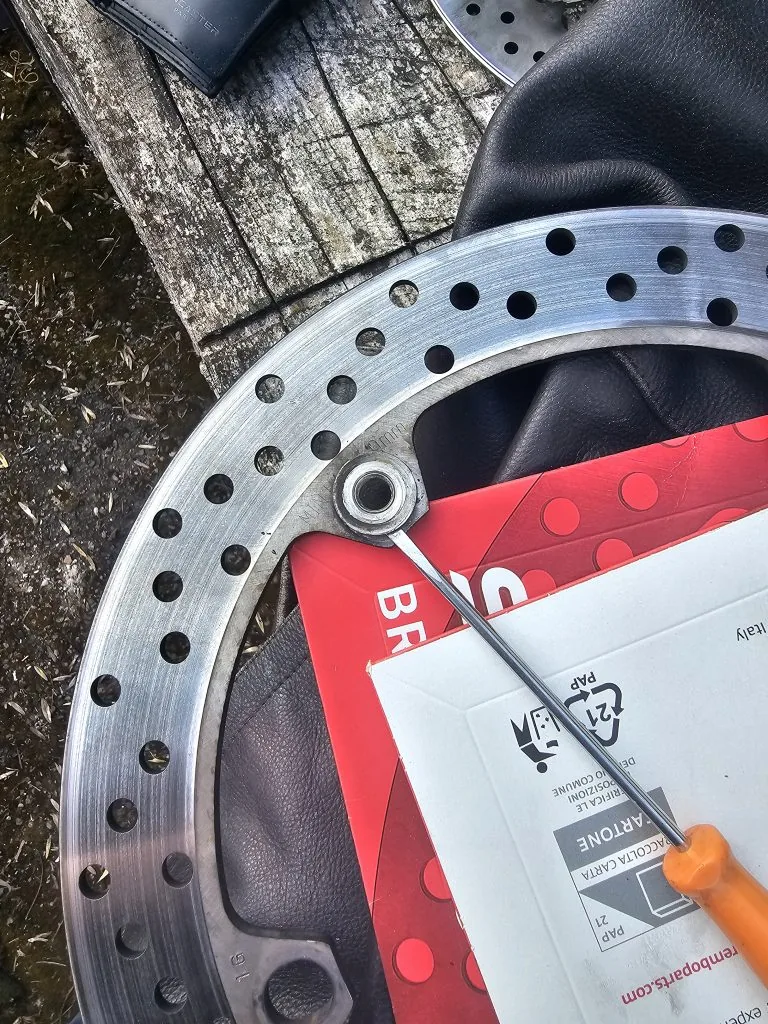
So here I am doing something clearly unorthodox: retrieving the old ones.
Once removed, we try to give them a second life, even though they weren't originally designed for this:
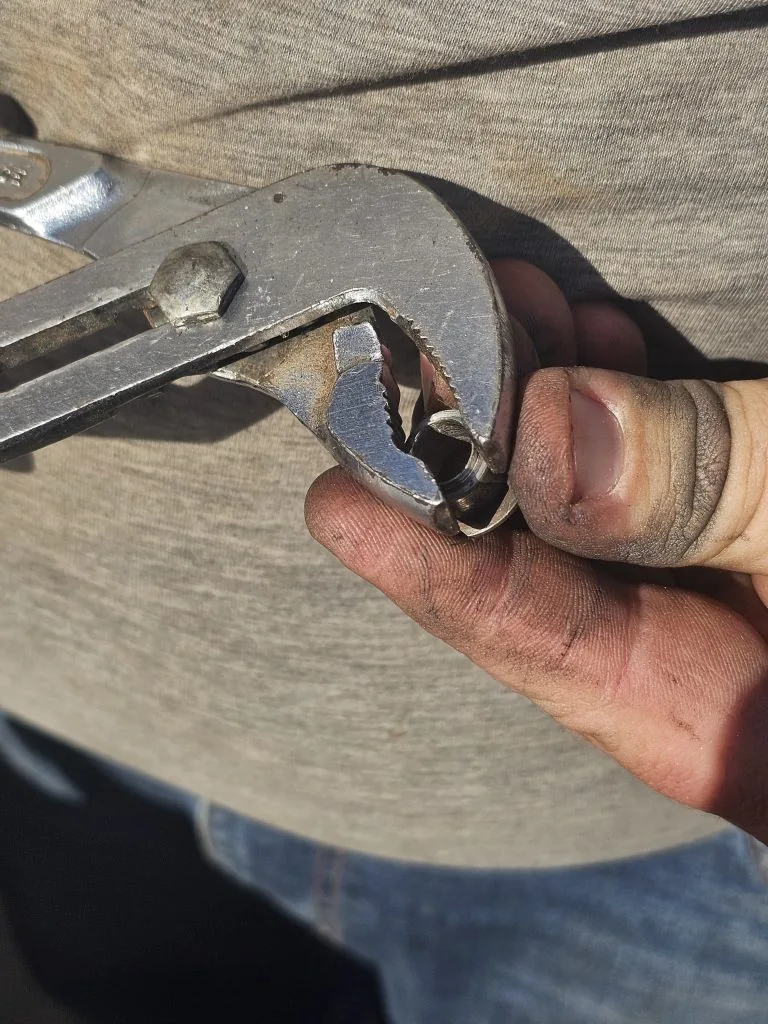
It's a monumental struggle to extract them. So, we improvise with… a homemade “BMW tool,” let’s say it’s as good as new on the new disc:
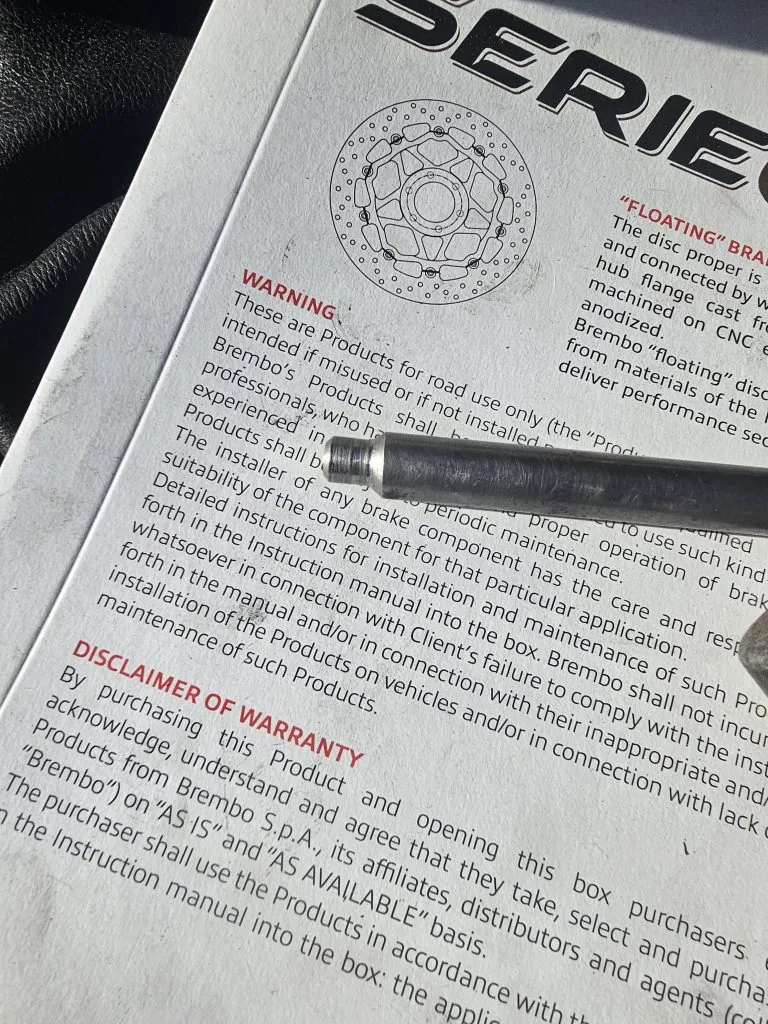
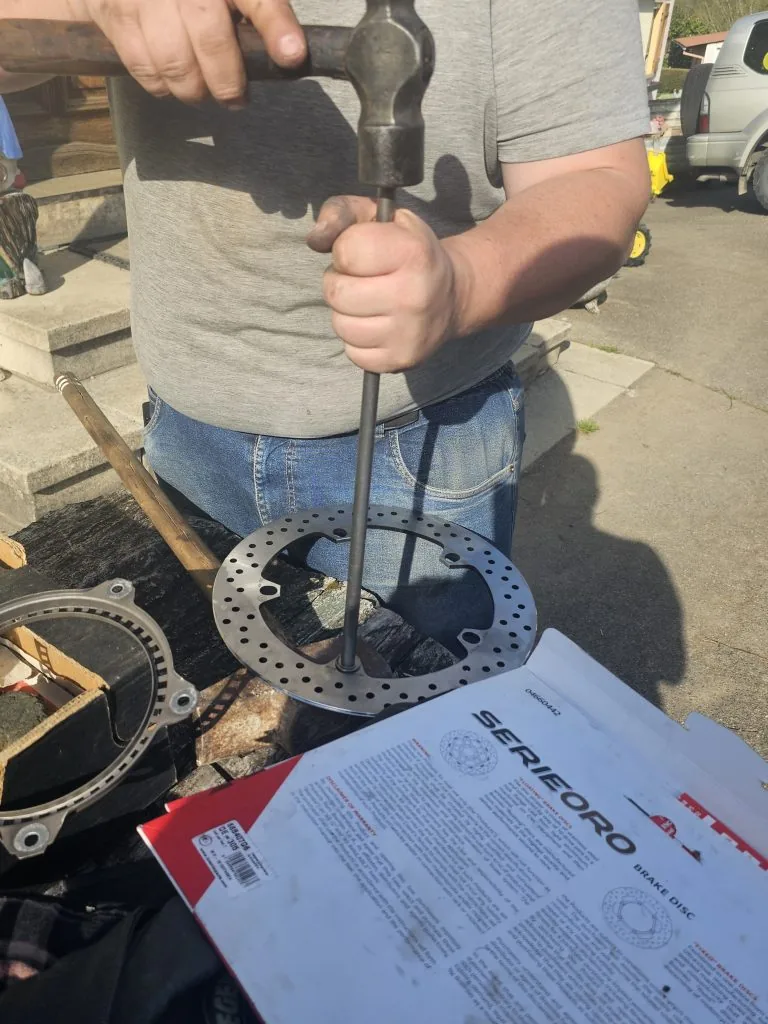
Everything is then reassembled properly, under good conditions, to achieve a correct fit.
Let's be honest: this isn't ideal or recommended. It's a quick fix. But it works and will prevent me from making the same mistake again.
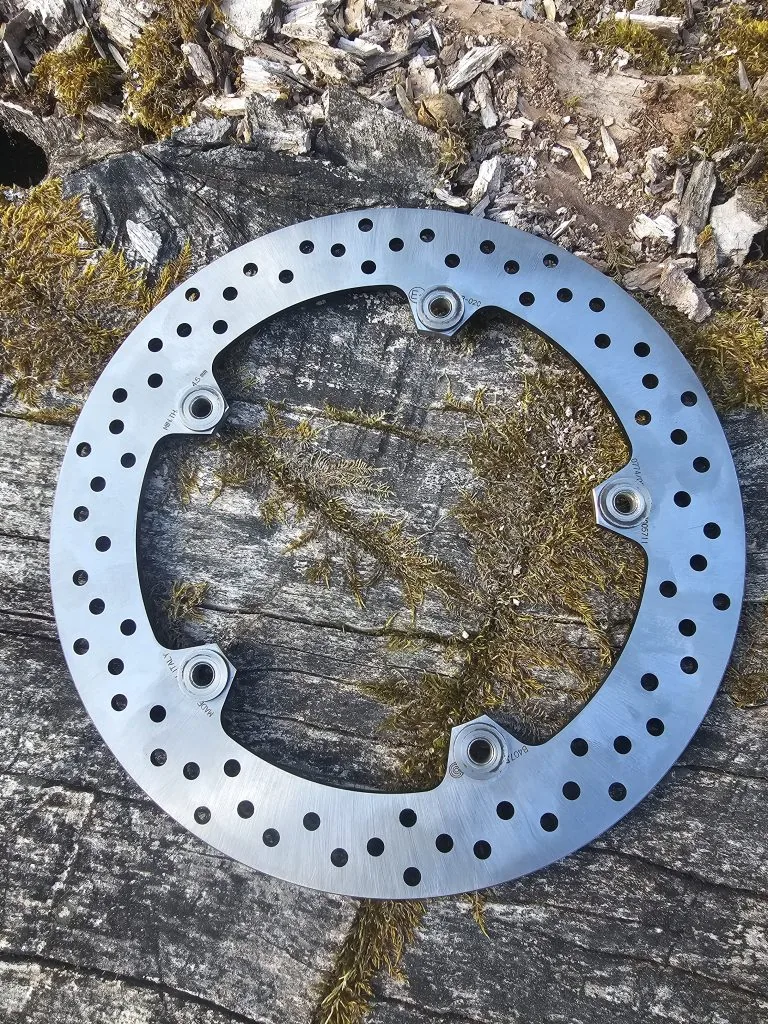
1.4. The Reassembly
You can then remove the old pads, being careful with the pin, clean everything up, push back the pistons, and install the new ones:
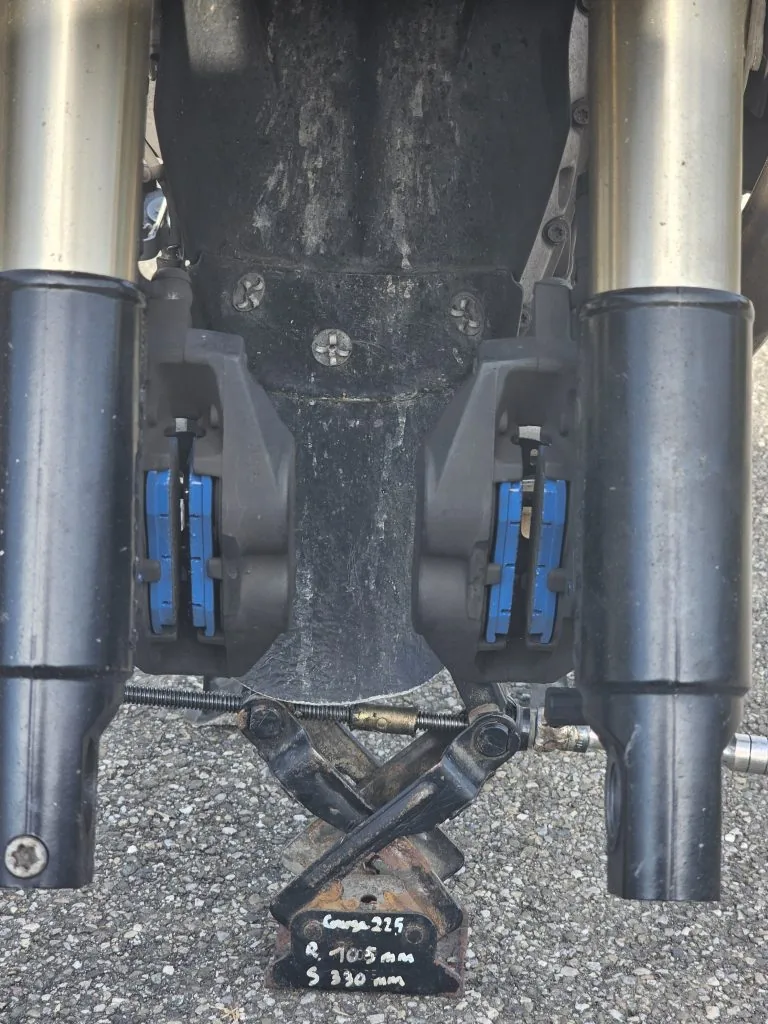
Reassemble the discs using thread-locking compound, and don't forget to position the ABS disc correctly:
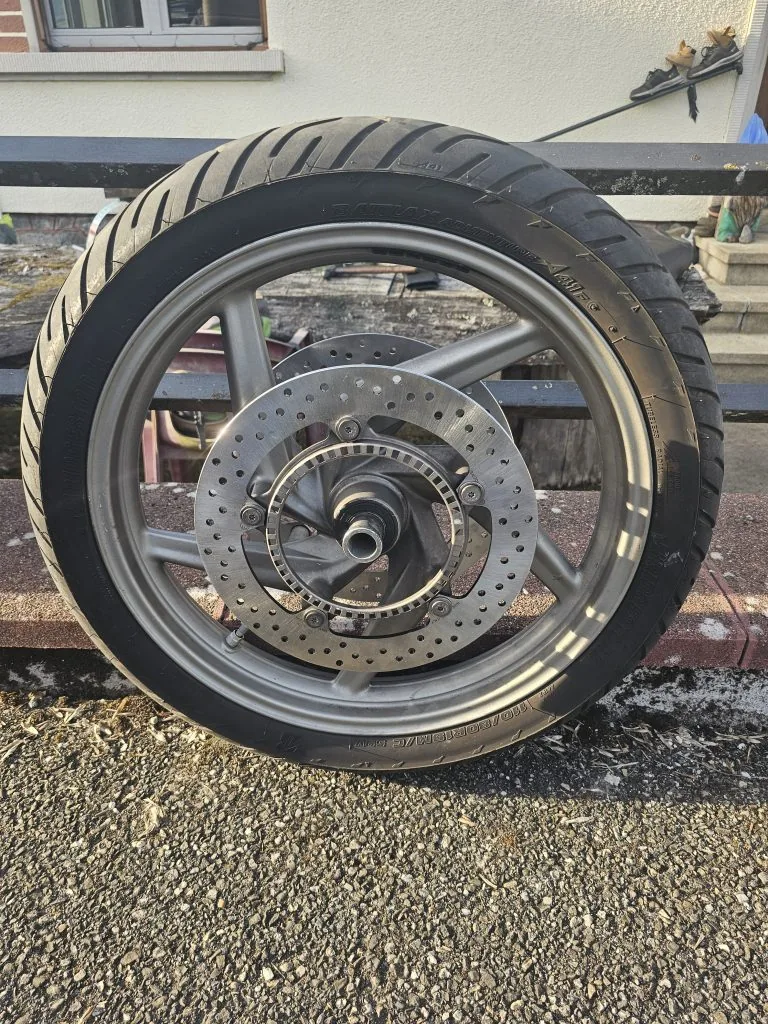
And of course, a classic moment: struggling to put the wheel back after reassembling the discs… because with the calipers in place, it no longer fits.
2. The bonus
A few days later, installation of a clip-on tank bag:
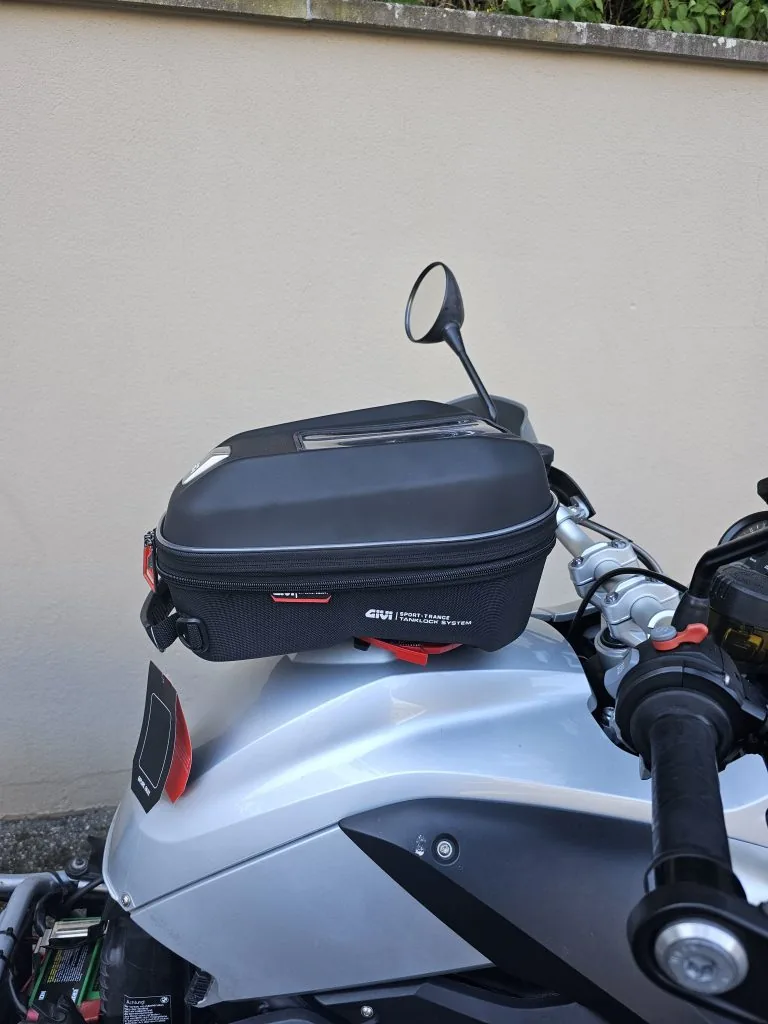
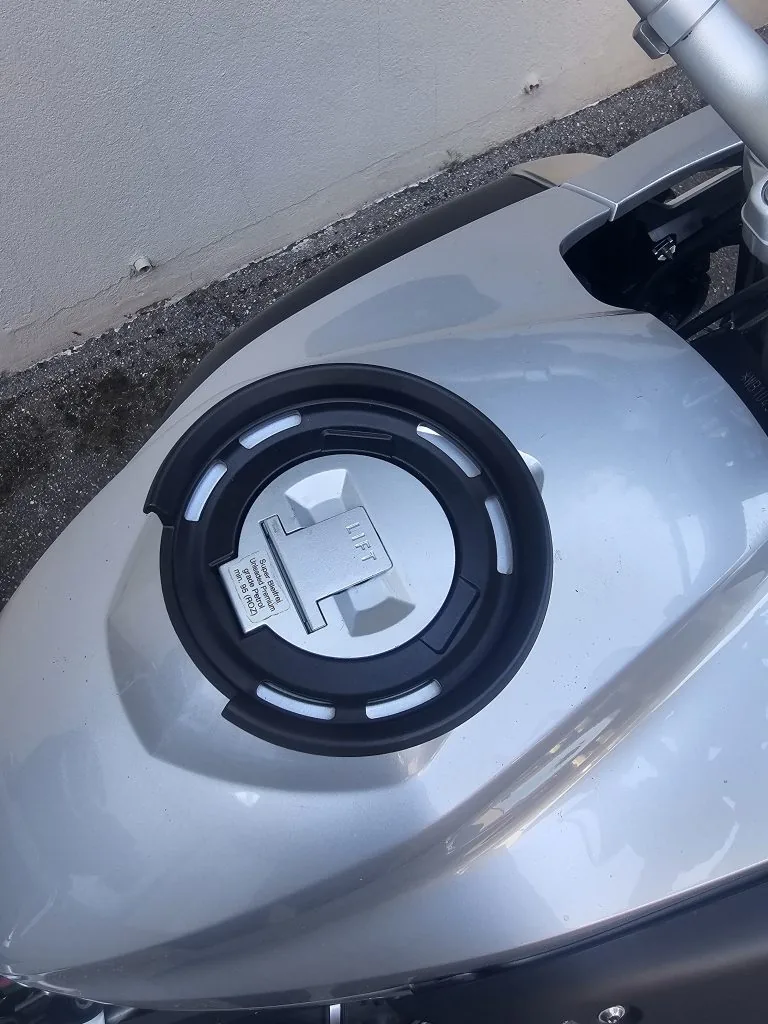
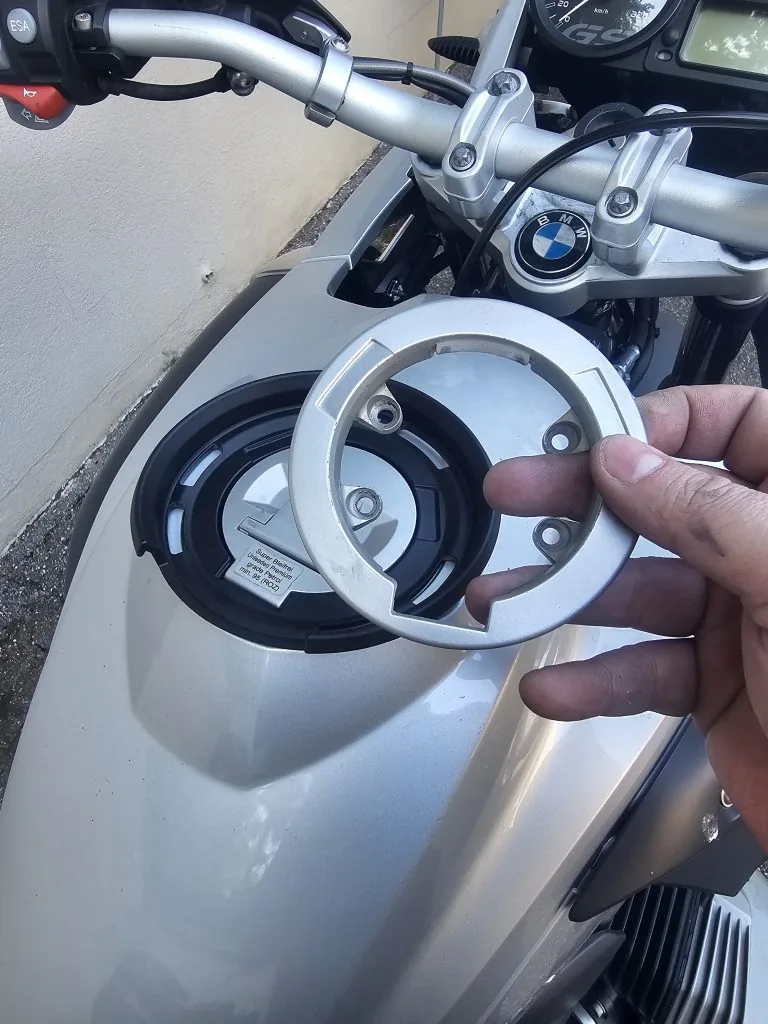
You need to remove the fuel filler flap and its bracket to replace it with a new one. This new support also allows you to mount the bag on top of the tank.


Comments
No approved comments yet.
Sign in with a commenter account to post a comment. Sign in.